Dunia anak adalah dunia bermain sambil belajar. Suatu ungkapan yang hampir pasti diketahui oleh para orang tua yang memiliki anak-anak balita, TK, SD kelas 1-3. Begitu menariknya dunia anak-anak ini sebagai awal pembentukan karakter mereka, dimana anak hendaknya diajak untuk memulai mengenal sebuah “pengetahuan” melalui kegiatan bermain. Tapi sayangnya, walaupun kita mengetahui hal ini, masih juga kadang terjadi “pemaksaan” belajar untuk anak usia tersebut, les kesana kemari (anak kecil sudah les?). Hal ini bisa berdampak si anak menjadi cepat jenuh dan mogok di waktu besarnya, atau justru si anak menjadi lebih terpacu untuk mendalami semua hal. Menurut saya, misterinya adalah sejauh mana kita mengarahkan anak dan anak mendapat “talentanya”.
Di samping itu, banyak pula ungkapan “Belajar Sambil Bermain” berlaku bagi kita semua, mulai pelajar SD, SMP, SMA. Tetapi, bagaimana belajarnya? Jangan-jangan malah jadinya main-main, materi tidak habis, anak tidak menghargai pelajaran dan lain sebagainya.
Sebagai pendidik / guru, kita bisa kurang menyadari kalau belajar sambil
bermain adalah sebuah metode pembelajaran walupun jelas ada di salah satu teori metode pembelajaran yang diketahui para guru profesional.
Kalau kita mencari dengan kata kunci belajar sambil bermain, begitu banyak resources yang akan kita dapatkan, begitu banyak tips dan jenis permainan yang dapat kita lakukan di kelas, apalagi matematika. Banyak teka teki, bujur sangkar ajaib, tangram, sudoku dan banyak lagi, yang dengan mudah dapat kita unduh dari internet.
Permasalahannya adalah guru sering terjebak dengan segala rutinitas dan tuntutan untuk membuat siswa dapat nilai bagus saat tes / ujian saja.
Perbincangan dengan beberapa rekan yang saya alami dan termasuk yang pernah saya alami sendiri adalah:
“wah susah lah bikin-bikin games, persiapannya berapa banyak”
“kalau games terus nanti kapan belajarnya, nanti kita suruh les aja deh, kita juga yang disalahin”
“materi kita kan banyak, nanti anak tidak ngerti bagaimana lalu nilainya jelek tidak sampai kkm, kan yang repot kita gurunya”
“bosen ah, kalau cuman main cerdas cermat, kasih teka teki, yang bisa kerjain tugas itu anaknya ya itu lagi, itu lagi”……..
Hmmm nah lho, jadinya bagaimana dong ya? Saya rasa semua pendapat di atas bisa jadi ada benarnya. Seorang guru dituntut untuk sedemikian kreatif dan berdaya guna untuk siswanya. Belum lagi, kalau kreatif sudah ada tapi terbentur kendala si guru yang kurang memiliki karakter kuat sebagai pembawa suasana bermain games (bukan seperti para penyaji acara games di televisi), yang ada nanti siswa akan bilang lagi “waduh ini ngapain ya main-main games, tapi garing”
Pak Nabu Mj melalui artikelnya di Kompasiana, Januari 2012, mengatakan bahwa metode pembelajaran belajar sambil bermain dapat mengusung kepada aktivitas dan kreatifitas anak didik. Untuk mengetahui kondisi itu maka harus mengetahui latar belakang pendidikannya dan apa tujuan dari itu semua.
Jadi, walaupun pelaksanaannya susah, marilah tetap semangat menciptakan dunia belajar sambil bermain kepada siswa-siswa kita. Temukan cara yang sesuai dengan situasi dan kondisinya. Mengikuti sharing di forum guru, banyak sekali yang bisa kita dapatkan, dan seperti saya katakan tadi bahwa semua info itu tentulah mengalami modifikasi sehingga menjadi sesuai situasi dan kondisi lapangan di lingkungan kita masing-masing.
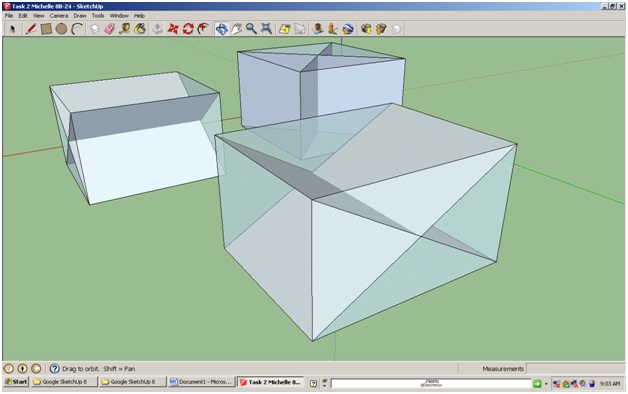
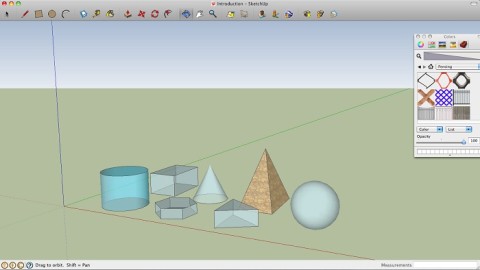
Setelah mencoba beberapa bentuk games / permainan (salah satunya adalah teka teki lewat “kentang panas“), saya mencoba cara berikut, membawa “a true game in the classroom”. Setelah melewati proses pengecekan, tanya jawab dan survey kepemilikan laptop kepada siswa serta kemungkinan dapat membawa laptop tersebut ke kelas (bagian cukup sulitnya), sampailah pada sebuah Lesson Plan “Introduction to 3D perspective” lewat main Tetris di kelas dan menggunakan software bebas Google Sketchup (sekarang dimiliki Trimble).
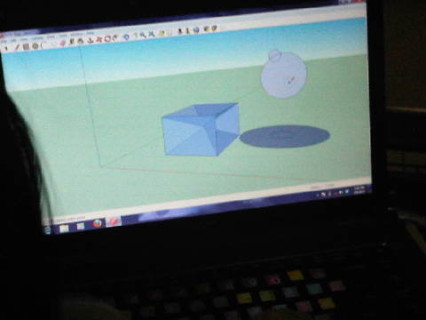
Untuk bermain tetris 3D (tiga dimensi), dibutuhkan kecerdasaran visual-spasial untuk memahami perspektif dan posisi dari bangunnya. Sebagai pemicu otak mereka bekerja pada saat masuk ke materi utama bangun tiga dimensi, cara ini saya temukan cukup efektif membuat mereka “menghayalkan” bangun-bangun tersebut dalam berbagai perspektif.
“Tetris was the perfect game, it was simple to learn, you had to practise to get good and there was a good learning curve. Tetris is an excellent tool for neuroscience.” ~ Dr Richard Haier
Demikian pula dengan prinsip dasar bangun tiga dimensi di mana volume benda bergantung pada luasan alasnya dan tingginya, Sketchup cukup menarik dipakai siswa untuk benar-benar mengerti konsep tersebut.
Siswa diminta untuk membuka link permainan tetris 3D sebelumnya di rumah dan dengan posisi laptop yang “hibernate”, permainan dapat dilakukan di kelas kembali tanpa butuh jaringan internet. Sementara software Sketchup merupakan sebuah software yang hanya perlu diunduh dan diinstall sekali sebelum bisa dipakai dan menyimpan hasilnya dalam sebuah file yang dapat dibuka kembali kapan saja setelah berhasil diunduh sebelumnya.
Berikut beberapa gambar yang terekam selama “bermain”


Sehabis bermain, tentu saja sesi belajar berlanjut dan siswa diminta untuk membuat laporan bermain tetris 3D dan menggambar ulang beberapa bangun 3D yang diberikan (Artikel selanjutnya akan membahas tentang google sketchup kegiatan di kelas).
Suatu pembelajaran yang sangat menyenangkan, belajar sambil sungguhan bermain. Komentar mereka pun beragam:
“Ini main beneran?”
“susahhhhh, tetris 2D aja, jangan 3D”
“asiiikkkk seumur-umur tidak pernah main nih di sekolah”
“seruuuuu pakai sketchup, saya jadi ngerti kenapa bisa jadi 3D”
Pasti masih banyak cara untuk menjalankan metode pembelajaran bermain ini, yang dapat dicoba ke berbagai mata pelajaran yang lain pula.
Yang Belajar Senang, Yang Mengajar Lebih Senang!
Enjoy Learning


 walau tentunya percakapan berlanjut ke cerita-cerita mengenai beberapa murid yang kebetulan kita kenal.


