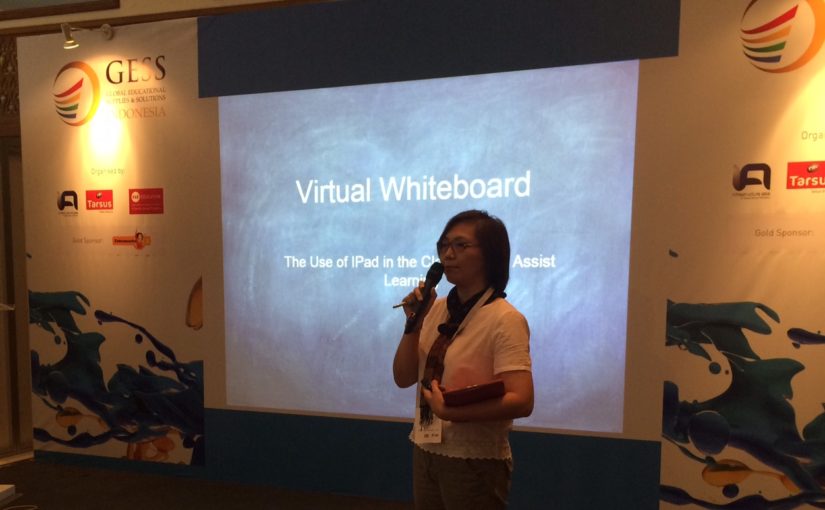

This year, I had opportunity to join in GESS Conference as one of the speaker. Or better saying as a person who willing to share his / her idea or experience on their journey of teaching (If the person is a teacher, like me 🙂 ).
I shared the use of IPad in the classroom to assist learning. I have been using it for several years.
Use your IPad (tablet) as a mobile interactive whiteboard and enjoy a completely untethered teaching experience. Focus on your class and not the whiteboard. Embed rich media elements like graphics, images and videos and leverage a variety of drawing and annotation tools to make your lectures come alive. You don’t need a traditional interactive whiteboard anymore.
Before IPad, I used a wacom (a drawing pad connected to the PPT) since 2008, and one of my sharing can be read here.
I started looking for other alternatives through the IPad. From the first launched in early 2010, I believe that IPad will be a very useful tool for the completeness of my teaching in the classroom.
Let’s see the IPad role in my class, among others:
1. The virtual whiteboard.
2. Presentations that have been made previously in Keynote / PPT / Sway / Video.
3. Live presentation screen recording.
4. Post the presentation directly in to the virtual classroom / online, Schoology based.
5. Browsing certain websites during the lesson. For me, there are some difficult things to explain through presentations that have been made in advance and presented by PPT. Sometimes I need to do in the same time, both explaining and writing. In this case, the IPad, the virtual whiteboard, solved my problems.
How is the workflows of the use of IPad and to connect it to the classroom projector? Check it out here:
1. Install Penultimate.
2. Install Explain Everything.
3. Install Schoology.
4. Internet / wifi connection in the classroom.
5. When I need a virtual whiteboard during my explanation, I open Penultimate. If I want to show images (from my files or from internet), I can easily insert it into my whiteboard screen.
6. If I want to explain with the help of software such as GeoGebra / desmos calculator, I also can easily replace the display board into browsing screen to access the website.
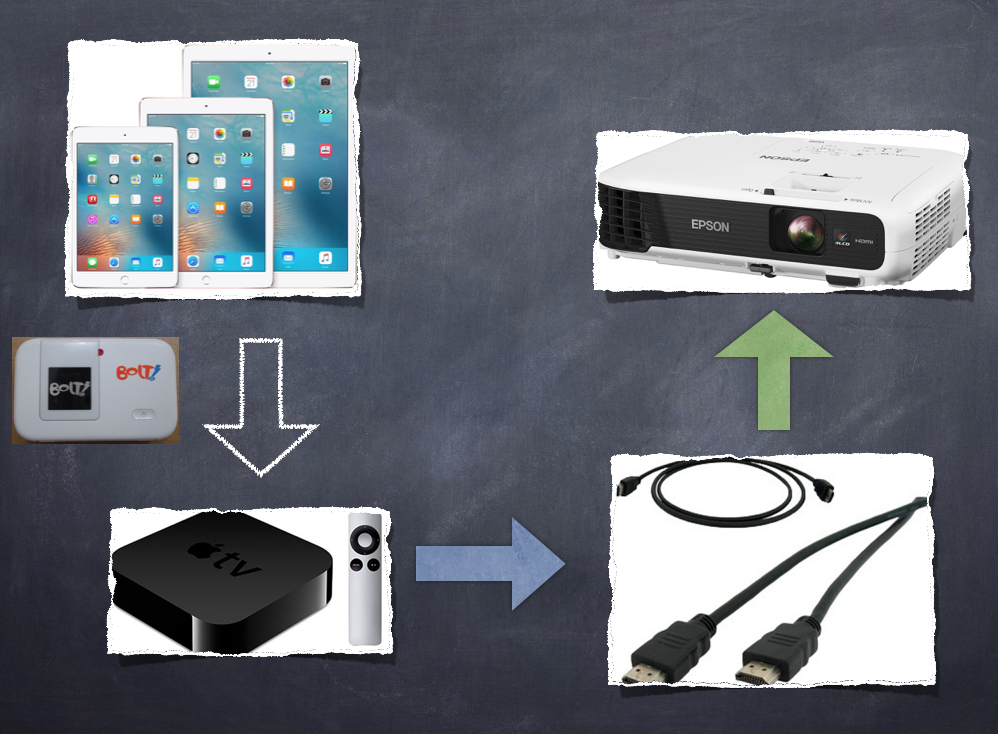
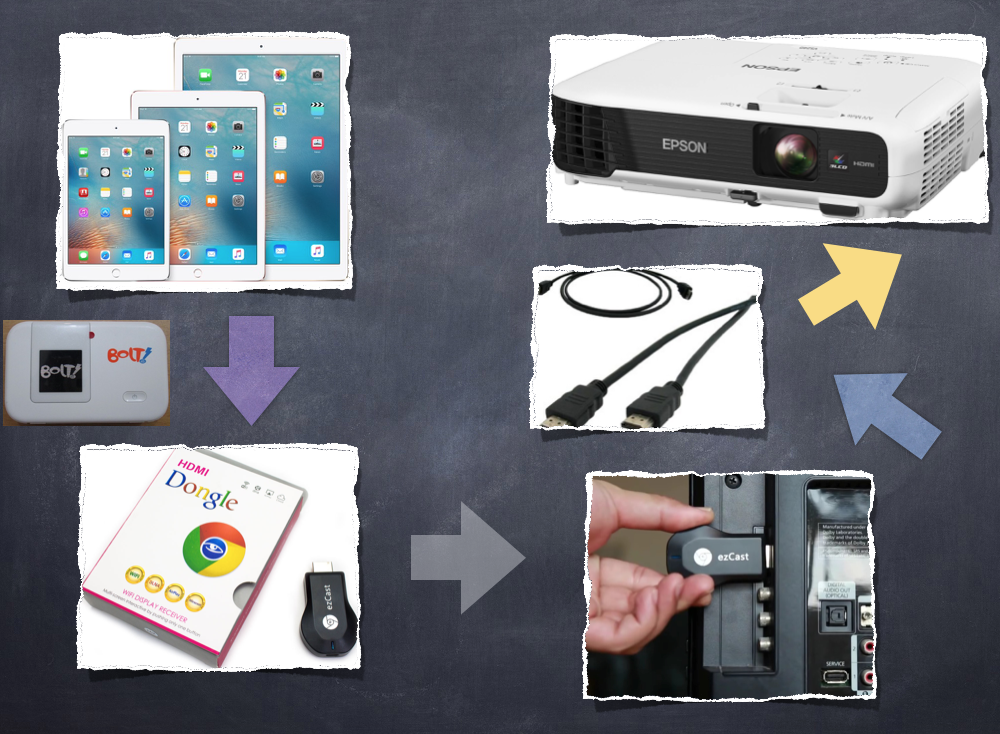
7. To display the virtual whiteboard on a projector screen, can be helped by these ways:
a. VGA cable connection with IPad to the projector.
b. If no cable like above, and your desktop is iMac or MacBook (desktop connected to the projector), IPad screen first transferred via USB cable connection to the iMac or MacBook use Quick Time Player Recording, and then to the projector (By doing this, I can easily record my screen presentation).
c. Use Apple TV: wireless, your mobile virtual whiteboard.
8. To create screencast lesson video, I use “Explain Everything”. This method used for the purpose of my blended learning / my flipped mastery classroom.
9. And, to store all those materials or classroom’s archive with students, I use online class, LMS, Schoology. Students can easily reach out the materials / teaching materials, anywhere, anytime. And they are also assessed by various formative tests in Schoology.
Some pictures to describe the connection: