When I was in school, teachers used to use chalkboard as their tool to present the lessons transferring ideas. … and that means, over 30s years ago 
Different then my first teaching experience, I used “whiteboard” as writing tool, advancing to Over Head Projector and then presentation software.
Since entering the era of 21st Century learning and teaching, medium for education field had been advancing too. Media getting easier to access by teachers or students, to the point that a teacher once said “Good to have YouTube. Just play a mathematics video and we can sit comfortably” (the video mentioned is the one from Salman Khan) “Aha! with Wolfram Alpha, you don’t need to write down the formula, just run it through Wolfram’s site” x_x uh oh, but er… this is not what i’m going to write about
Back to the topic of PPT as class presentation media. After created several presentation slide and skilled with “pen stylus”, I asked my self ‘why not combine both?’
Imagine, if presenting through a projector, then a full writeable board is in front of us through a writing medium of 3.6″ x 5.8″, all while we face the students all the time, instead of showing our back to them.
If the presentation slide already filled with the content, we want to add some information while presenting, then we can easily write on the slide.
Here are the steps to write on virtual whiteboard from a blank PPT file:
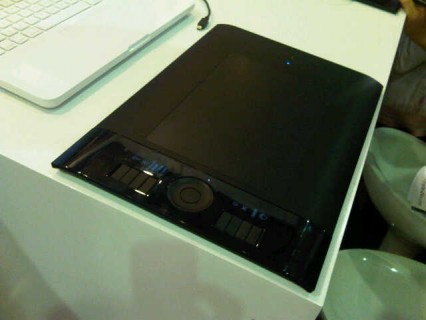
1. I feel convenient using “pen stylus” commonly used by graphic design industry, but of course, this technique is equally applicable with any mouse (the sample picture showing a pen manufactured by Wacom, Intuos 4)
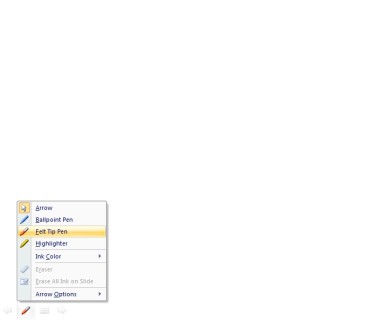
2. Prepare the whiteboard through the projector:
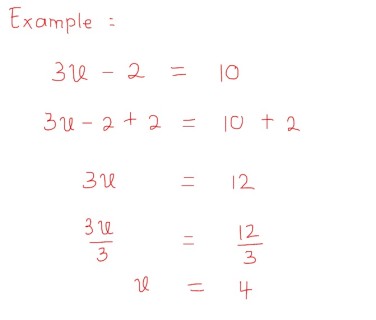
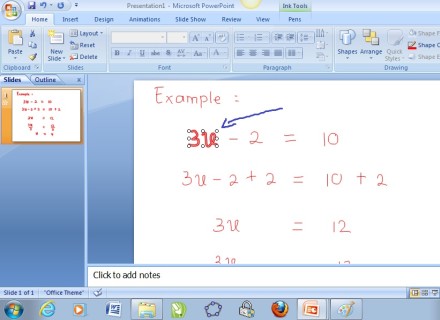
3. Start writing and explain the material:
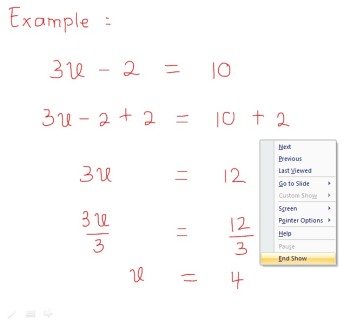
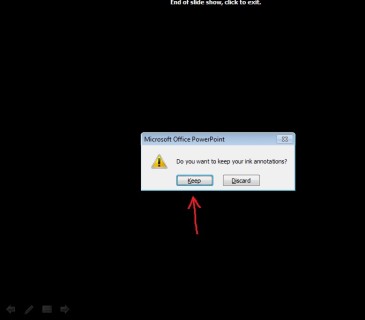
4. Save one screen after you finished:
5. In the menu Edit, your writing will turn into a picture.
6. Save your PPT as usual and the file can be distributed to the students if necessary. It might help recall students’ memory about what they observe during your lesson. Of course, you can combine this with screen recording technique as was explained in the previous article “Live Recording of Class Teaching” and produce an easily re-playable video to be “fast forwarded or replayed” according to the viewers need.
With the spirit of Curriculum of 2013, I imagine this technique might be combined with “Latex” to wrote down the formulas (as explained by Ibu Amiroh) and this technique to breakdown the formula step-by-step. Perhaps Pak Urip have this interesting Molecule structure to sketch, or Pak Isna perhaps want to explain words hyphenation and intonation on a sentence. Wow, a lot of practical application. (Those three names are my colleagues from guraru).
As mentioned, these steps are just one from various available media today. Each have their own uniqueness and could be used for the same target, depending on each teachers ability and availability (from the simplest to the most advanced).
For me, this method is most appropriate to communicate with students while keep watching them while doing my explanation in the lecture style classroom, with additional advantage to walk to to closer to middle of the students if the pen stylus have a wireless facility.
Happy Learning!

